Leonard Farm
Leonard Farm - Main Living Space Renovation
This has to be one of my favorite transformations to date! Small design projects have a special place in my heart but being able to do a full, top-to-bottom design where nothing old stays and everything starts from scratch is amazing to watch come together. That feeling when you see it all pulled together and staged makes the months of work worth every second. With no further delay - I present to you Leonard Farm!
Where to start with this guy?!
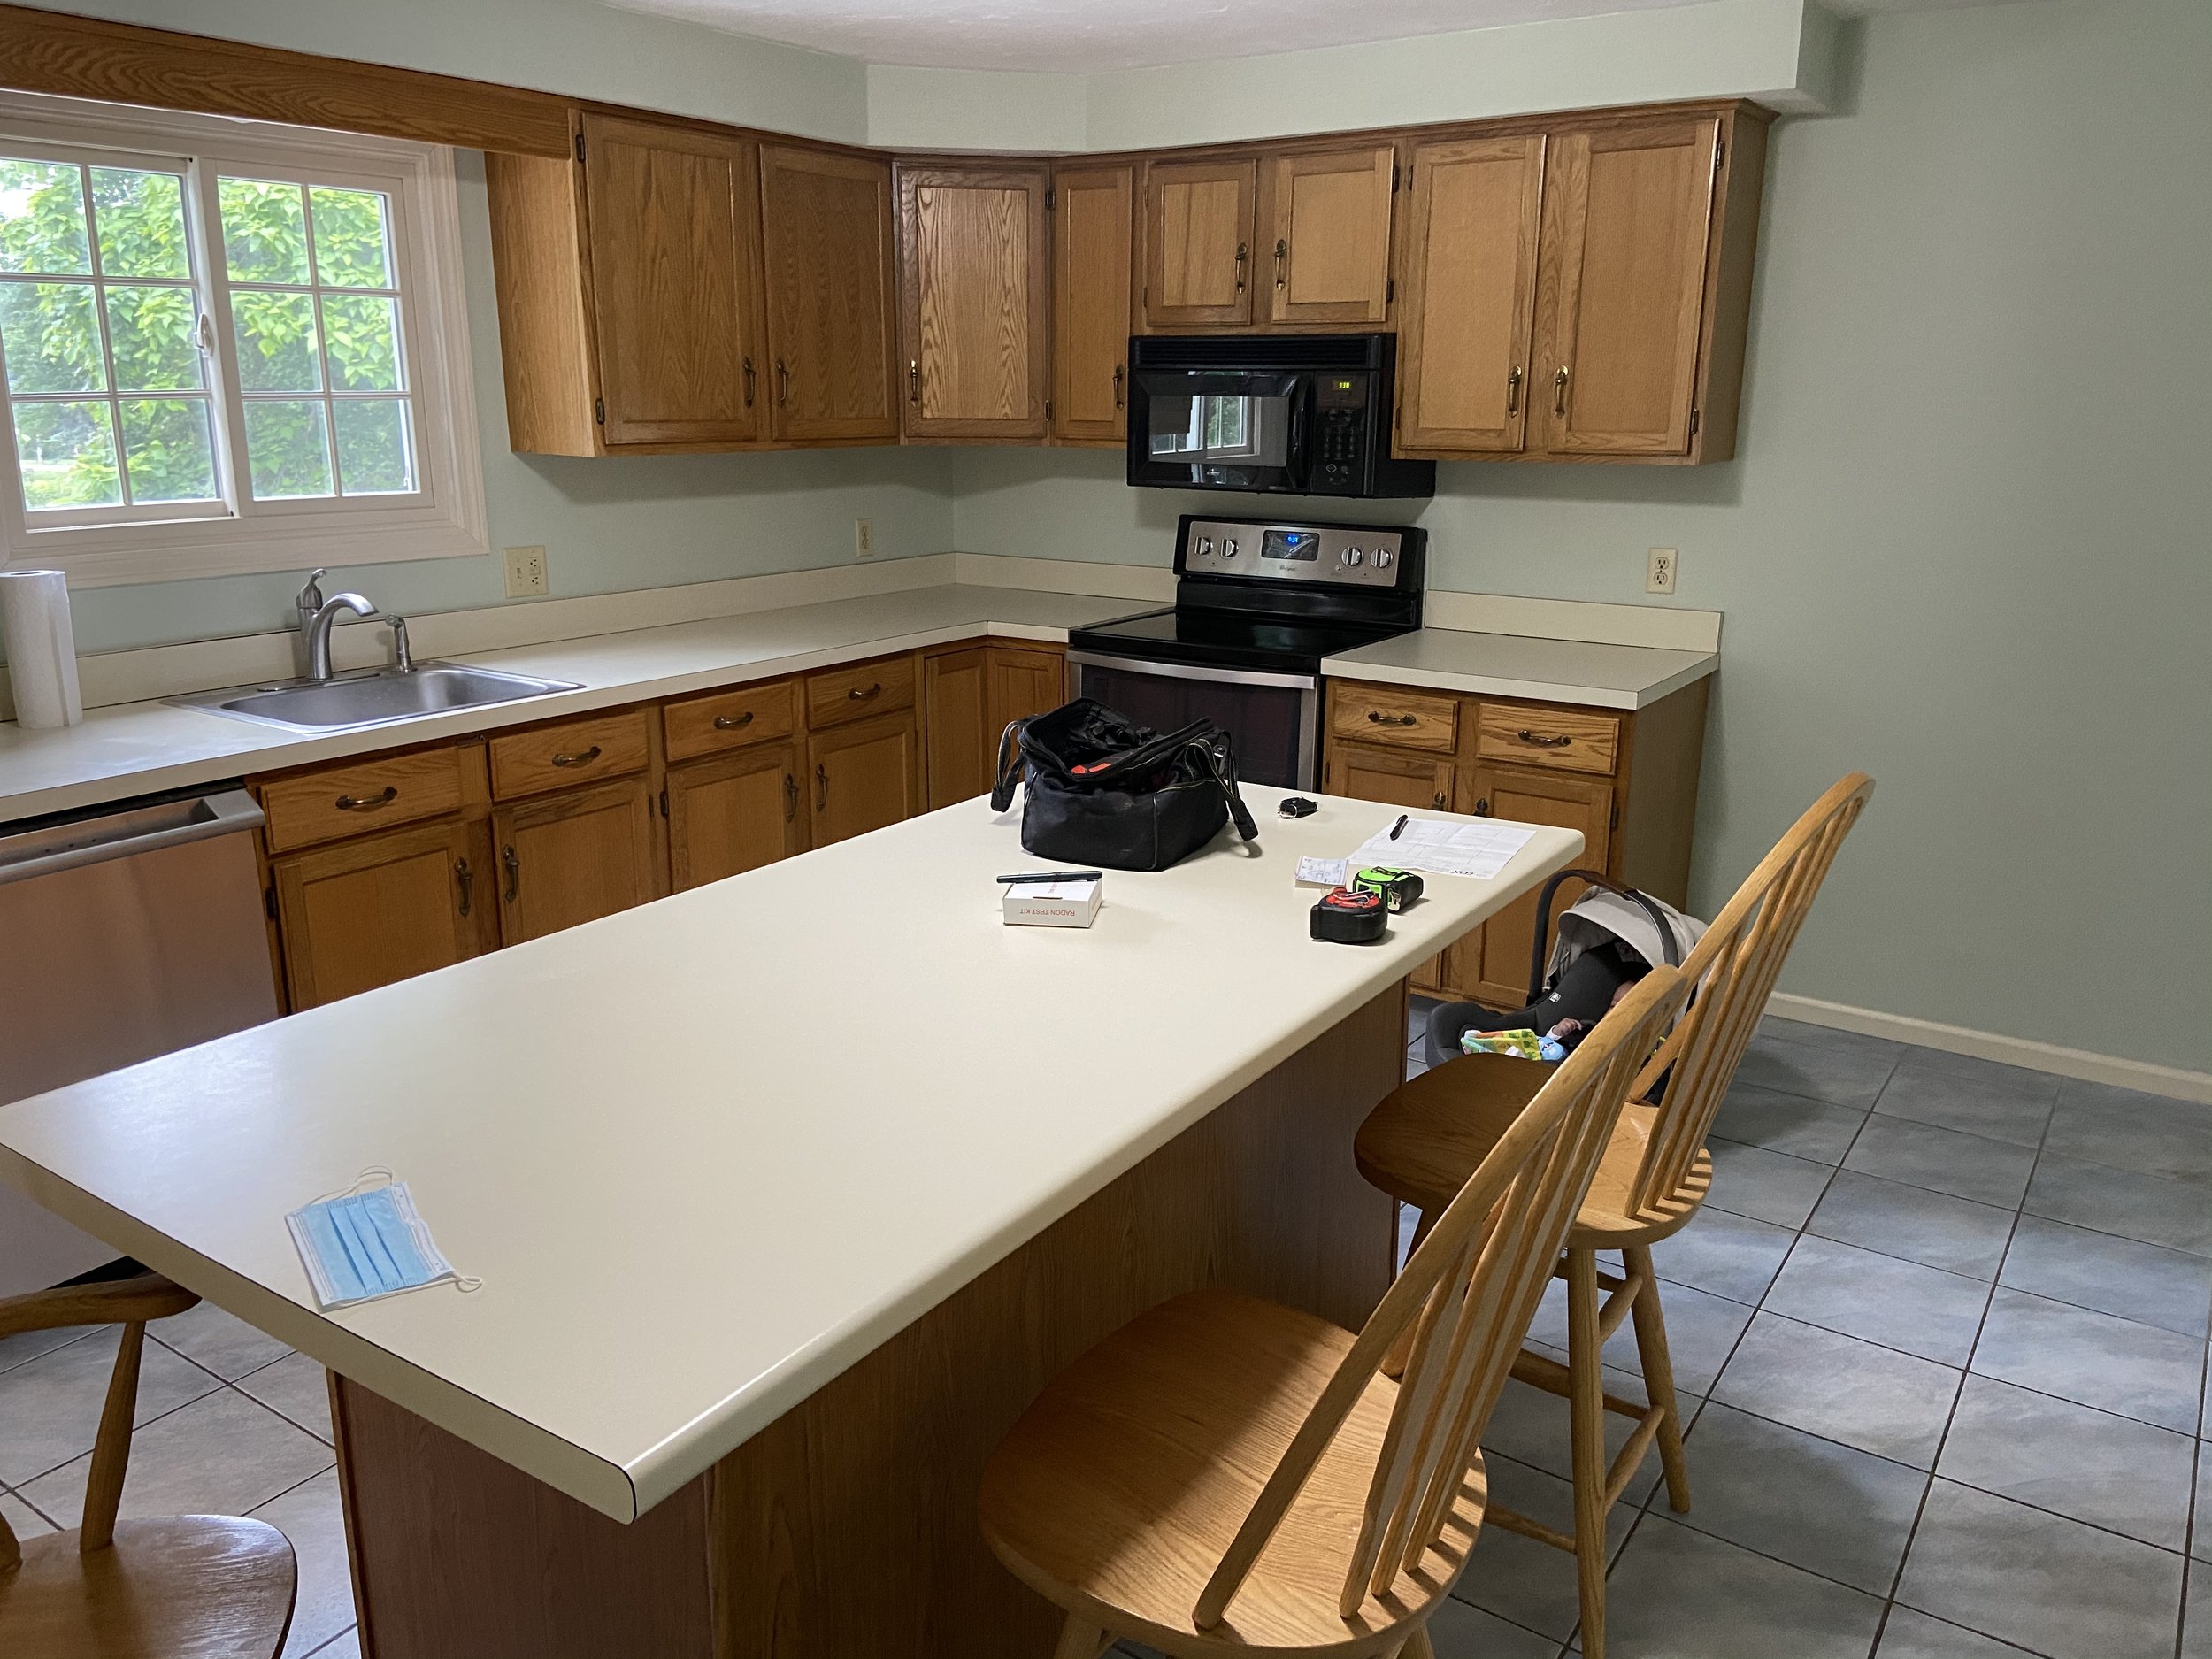
Let’s take it all the way back to the before pictures and go from there.
Molly and Tyler bought this home and immediately knew they wanted to take the kitchen and main living space from 1990 and bring it into the 2000s. They wanted an open, bright space they could host family and friends in with a slightly coastal feel without being over the top.
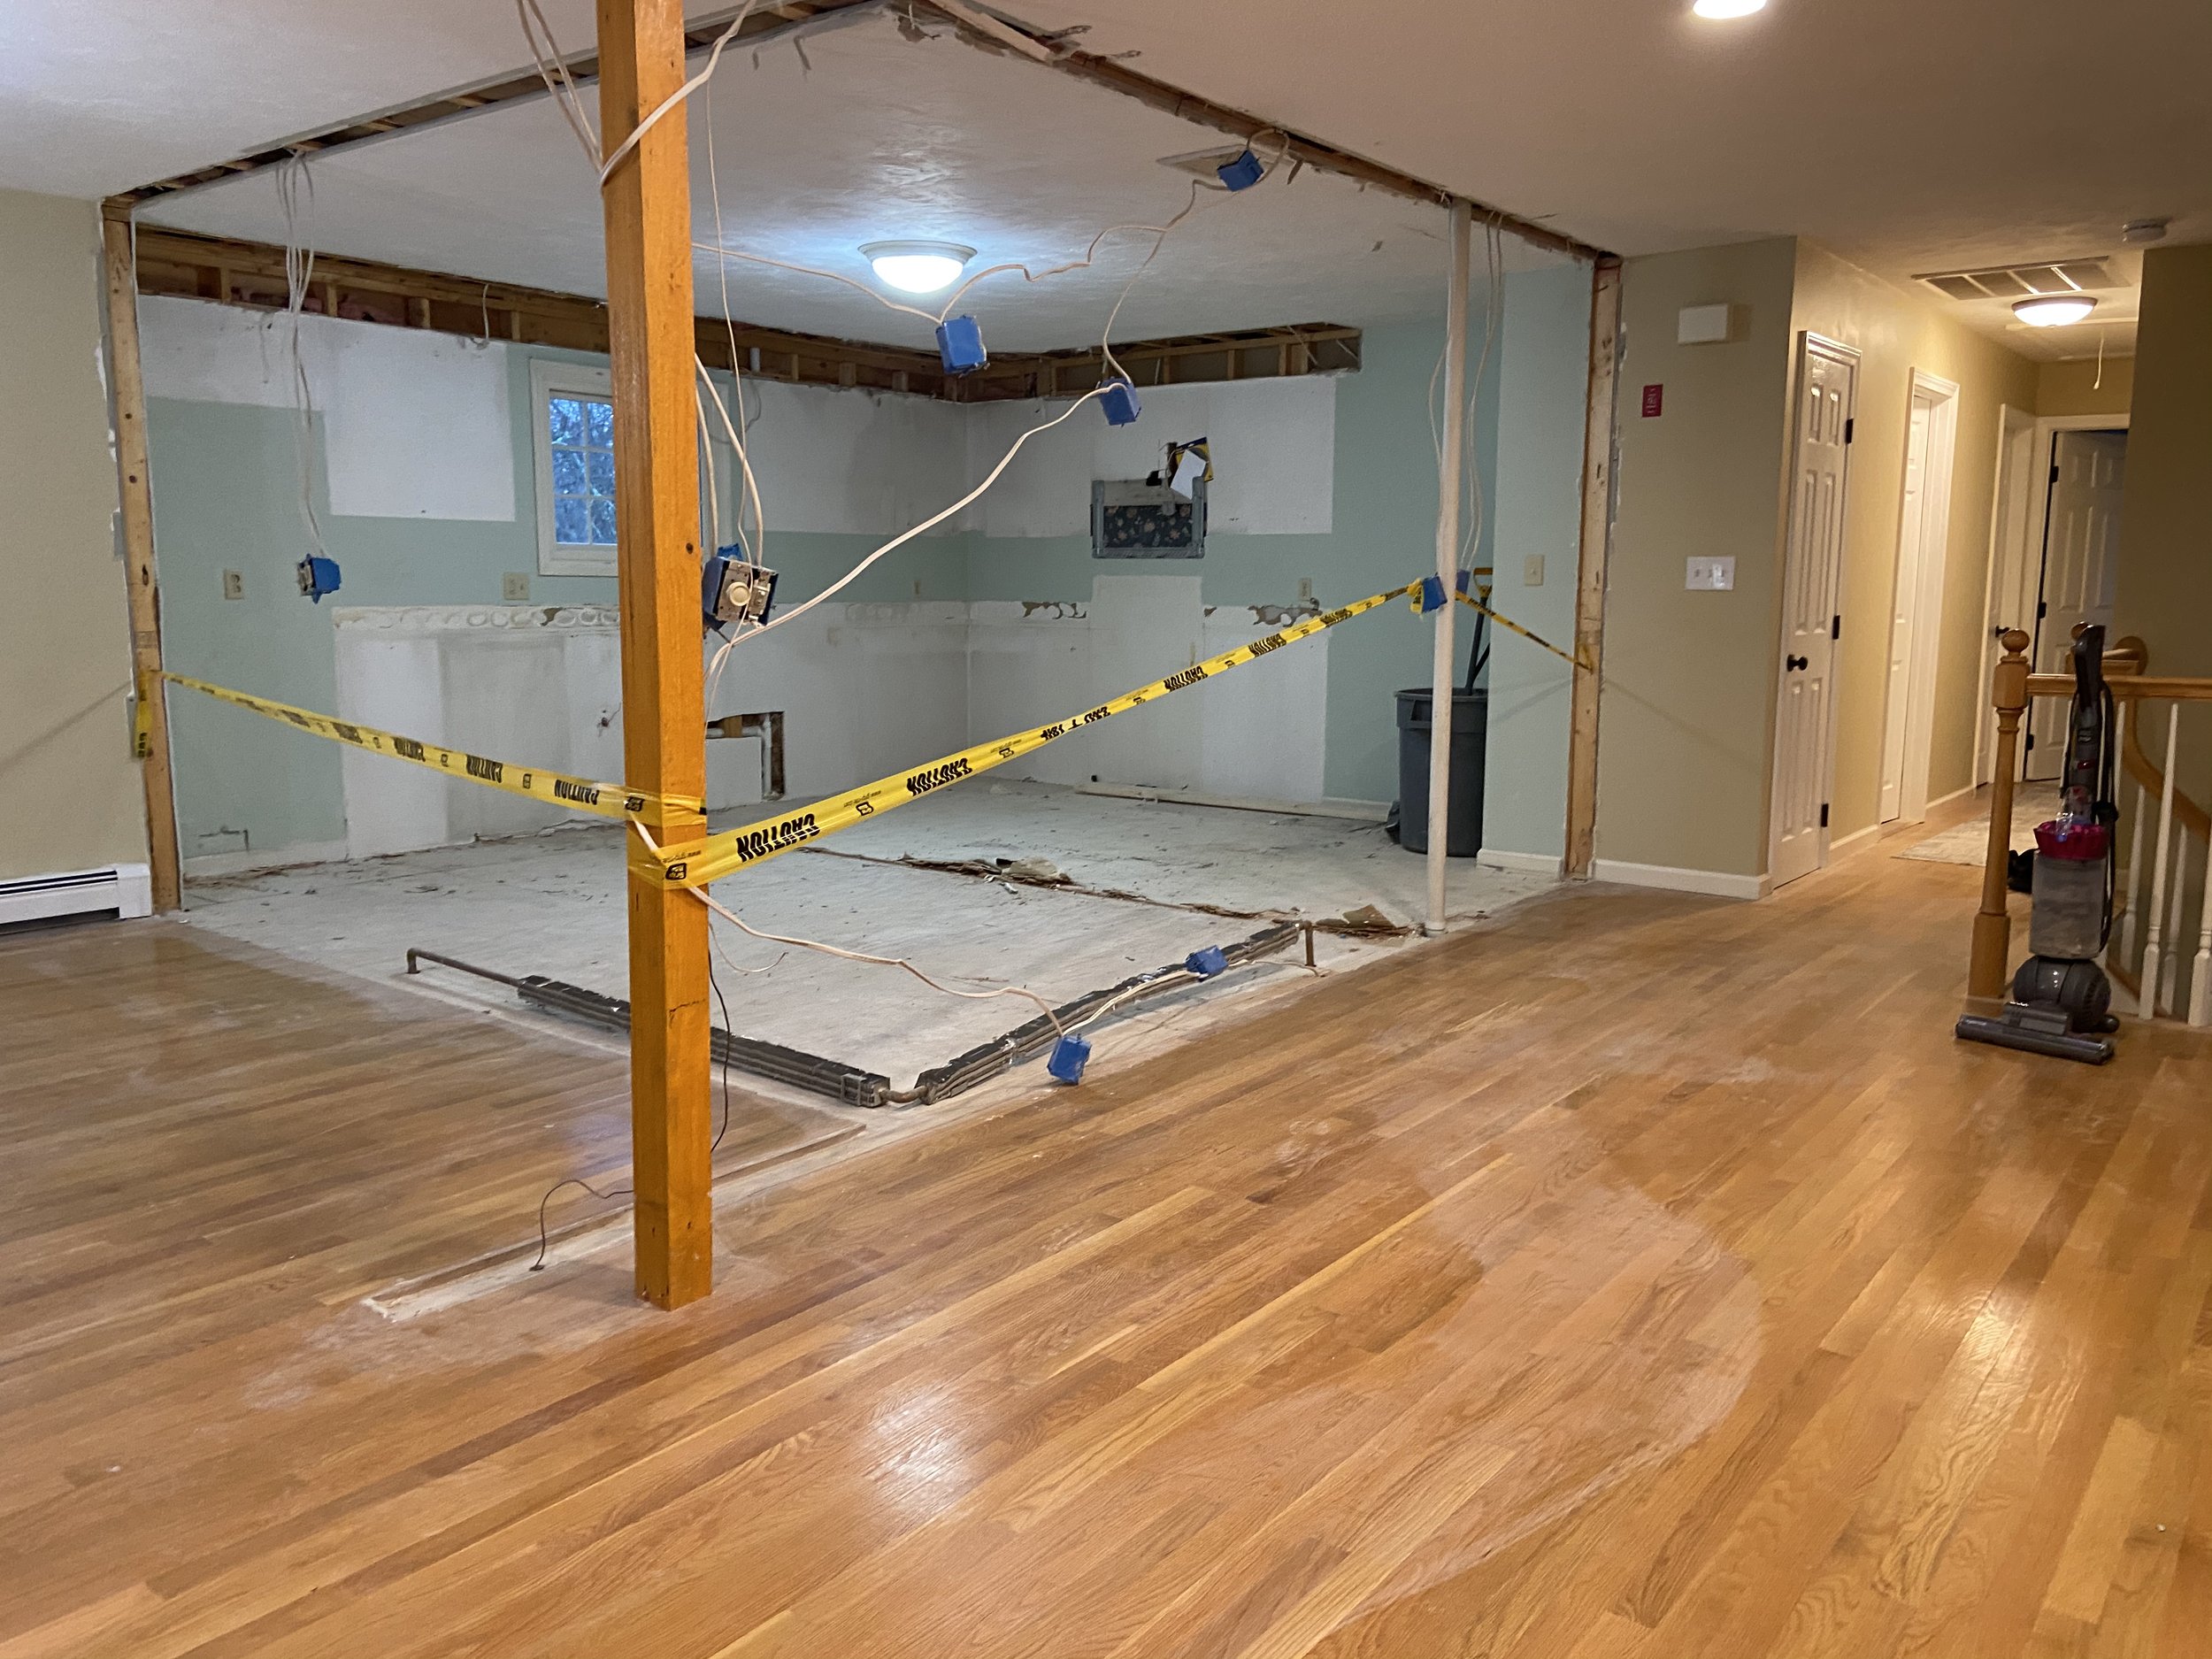
The first thing we did was take out all of the old cabinetry. We also took out elements that dated the kitchen like the tile floors and soffit above the cabinets once we determined they didn’t house any utilities or structural components.. We also removed the walls closing in the kitchen from the rest of the house to achieve the open and airy layout they were looking for. We ended up needing to keep a structural column which we had anticipated but with the right trim work, it worked in beautifully.
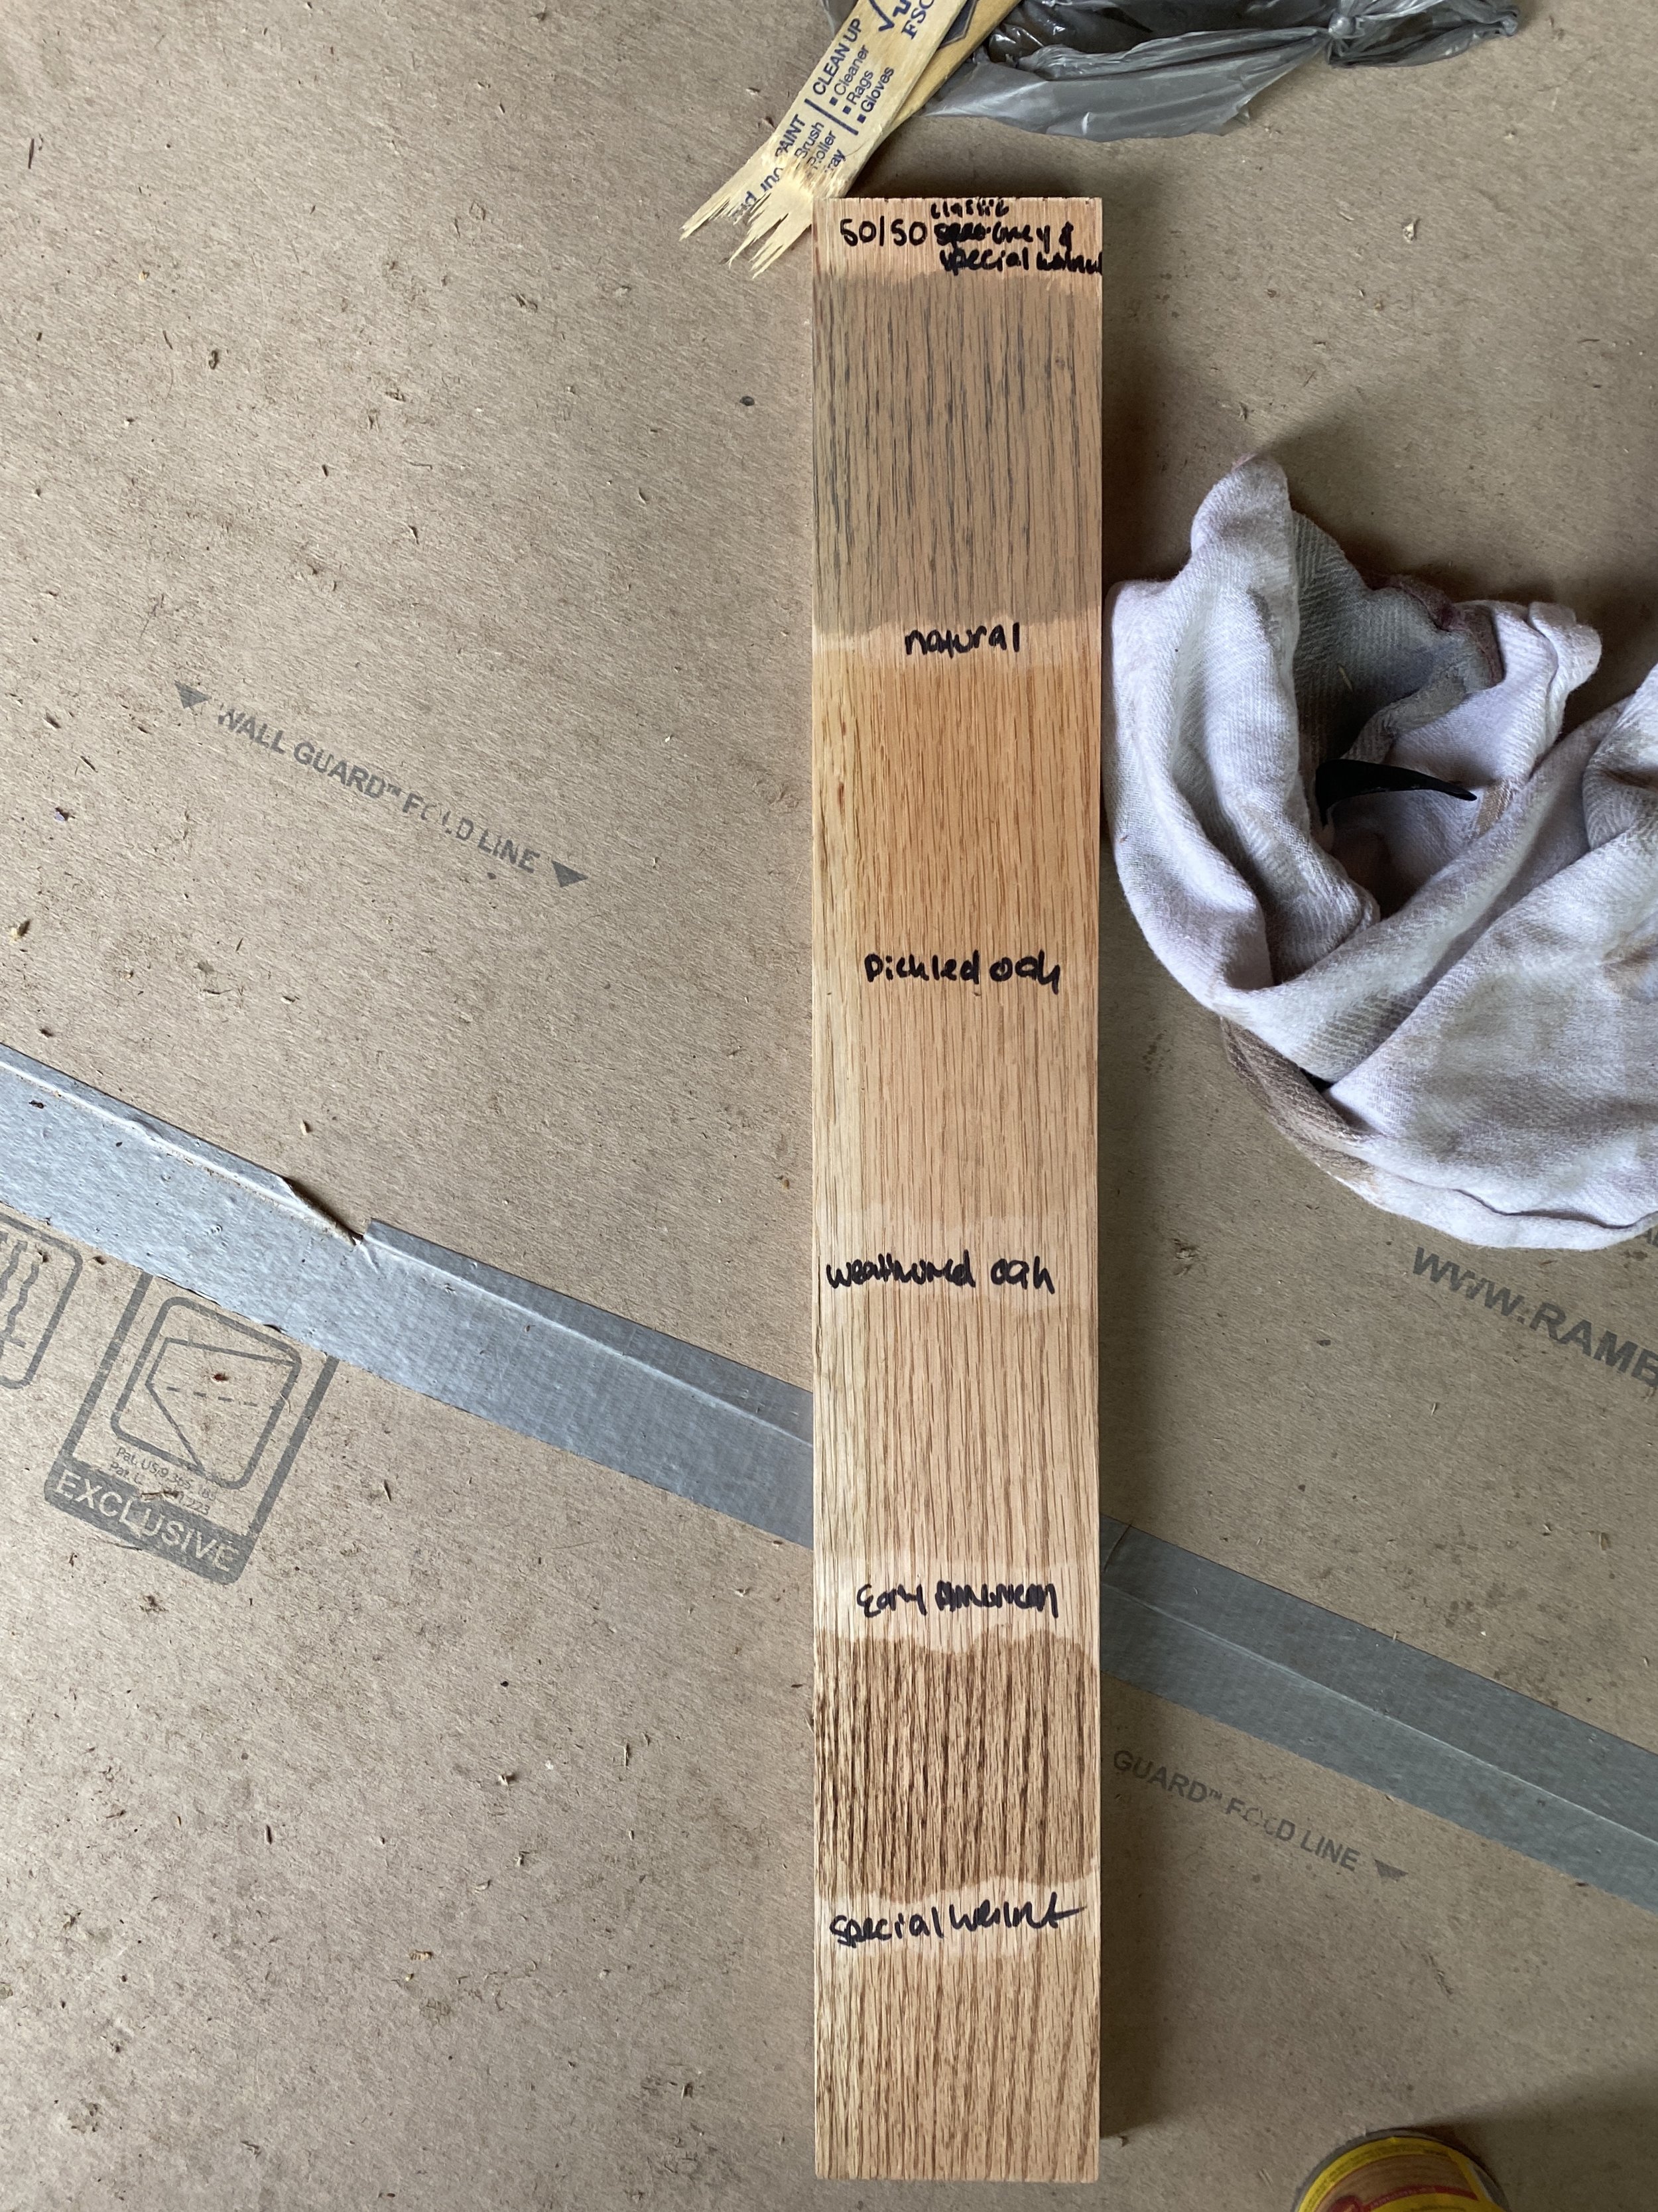
We chose to tie in the same oak flooring used throughout the rest of the rooms so everything would flow seamlessly. Luckily this meant we also were in a position to sand, stain and seal the existing floors to match the new ones. We put a few different stains down to see how they would look on the oak flooring before Molly and Tyler chose a winner. Getting rid of the orange hue of the existing floors played a huge part in transforming the space.
When designing the main living area, I wanted to do one color wall paint throughout all the rooms since it was such an open floor plan. Paint can look so different in every room and in every type of light so I ordered 12x12 samples from Samplize. This worked well because they send a large peel and stick paint sample that can be removed and placed in different rooms so you can make sure you love the color everywhere. Molly had furniture she wanted to be able to reuse so she sent me pictures and we picked a warm neutral that would transition well into the new kitchen and still match their furniture. Out of the four colors we tried, agreeable gray ended up being the versatile color we needed to pull everything together.
With all the big decisions made, it was time to start installing! We tied in hardwoods to match what was throughout the rest of the house. After the old floors were stripped, they were stained to all match and sealed. The cabinet install came next. We began finalizing and ordering all of the detail pieces next.
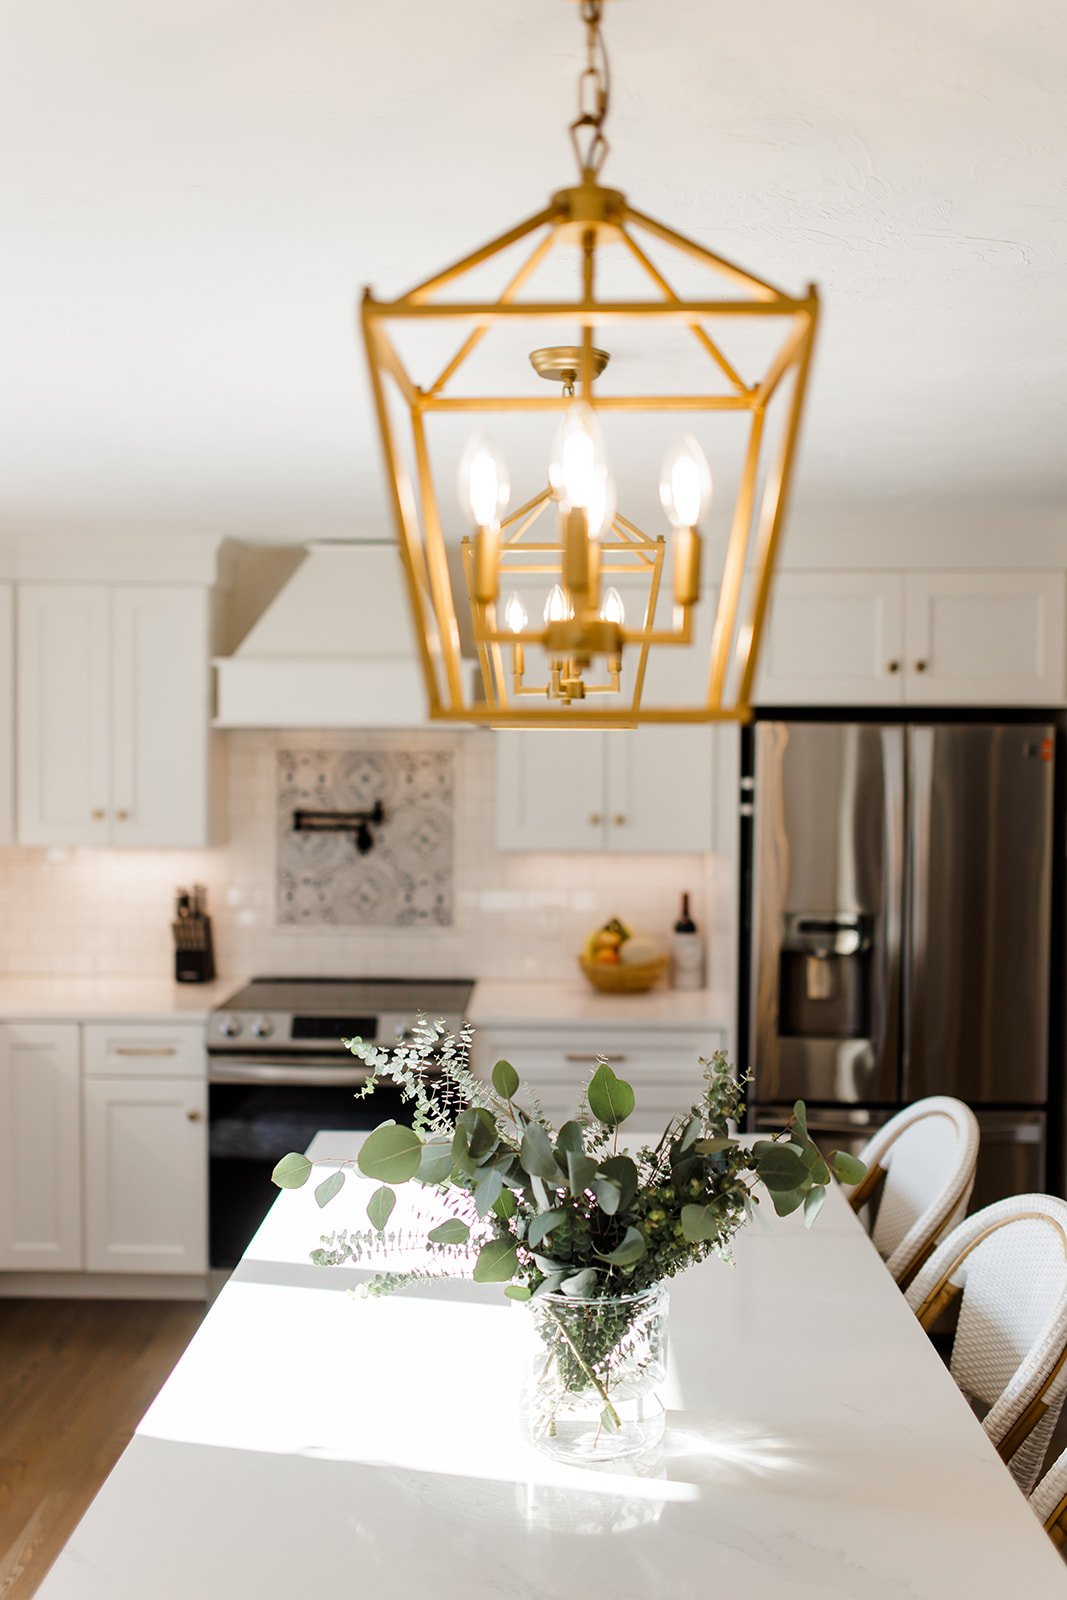
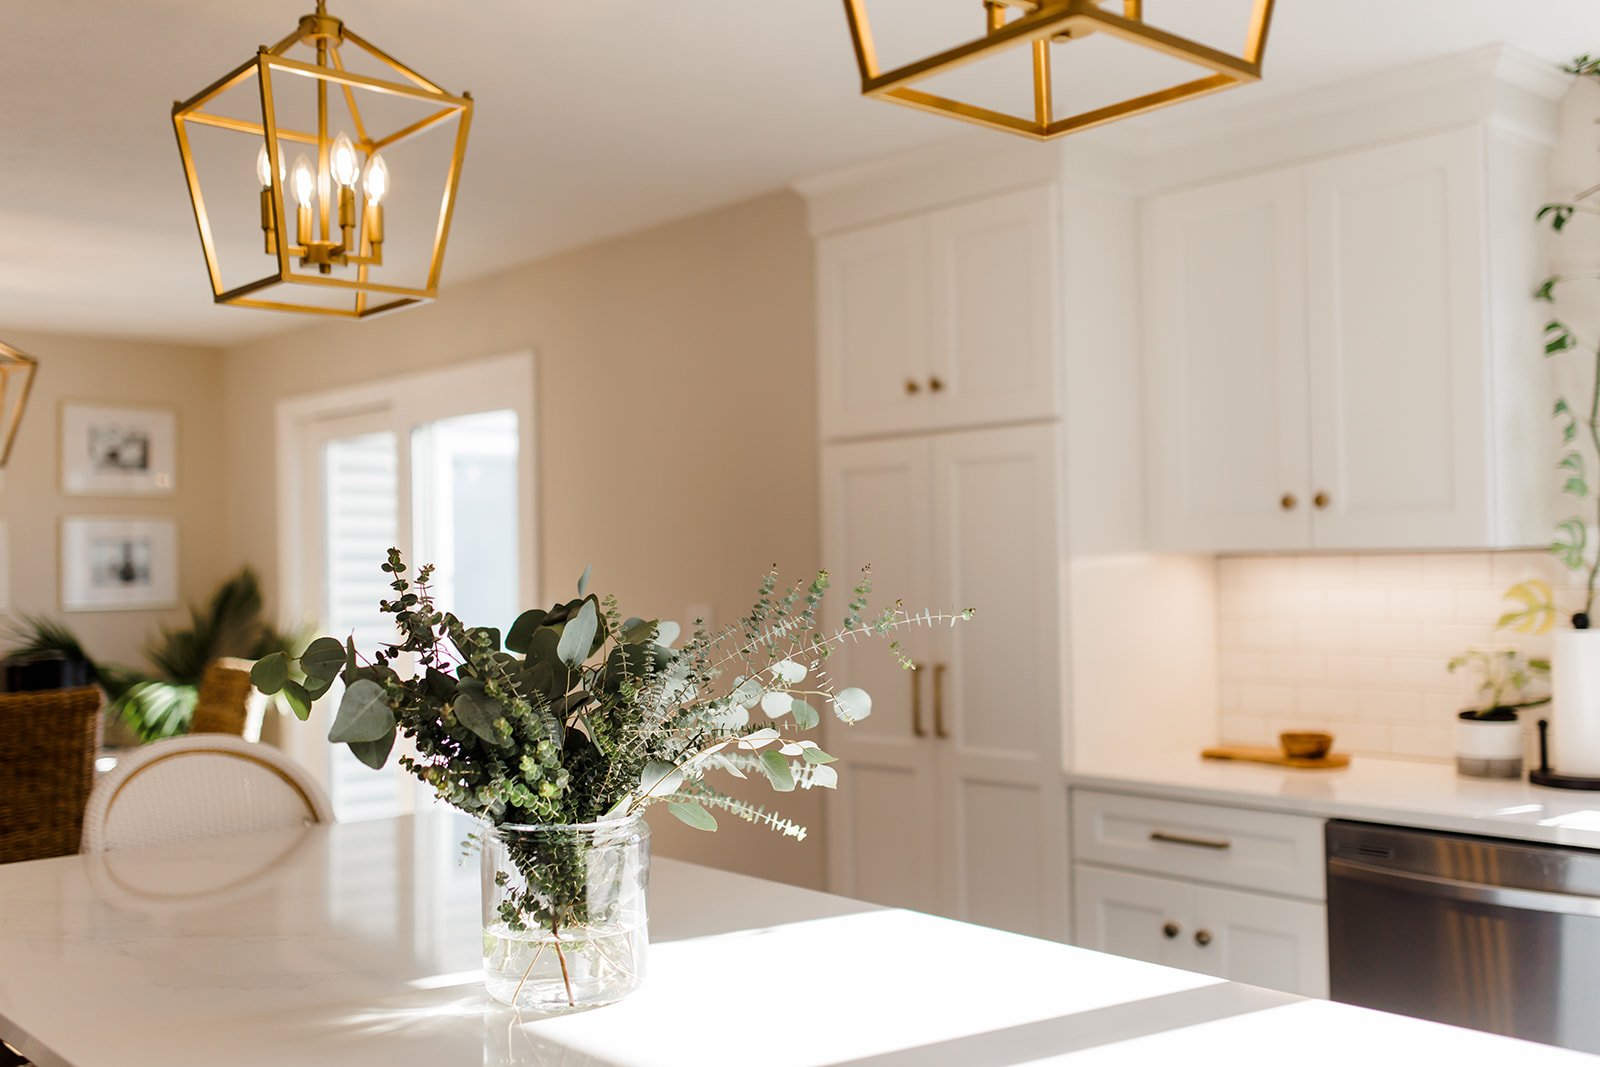
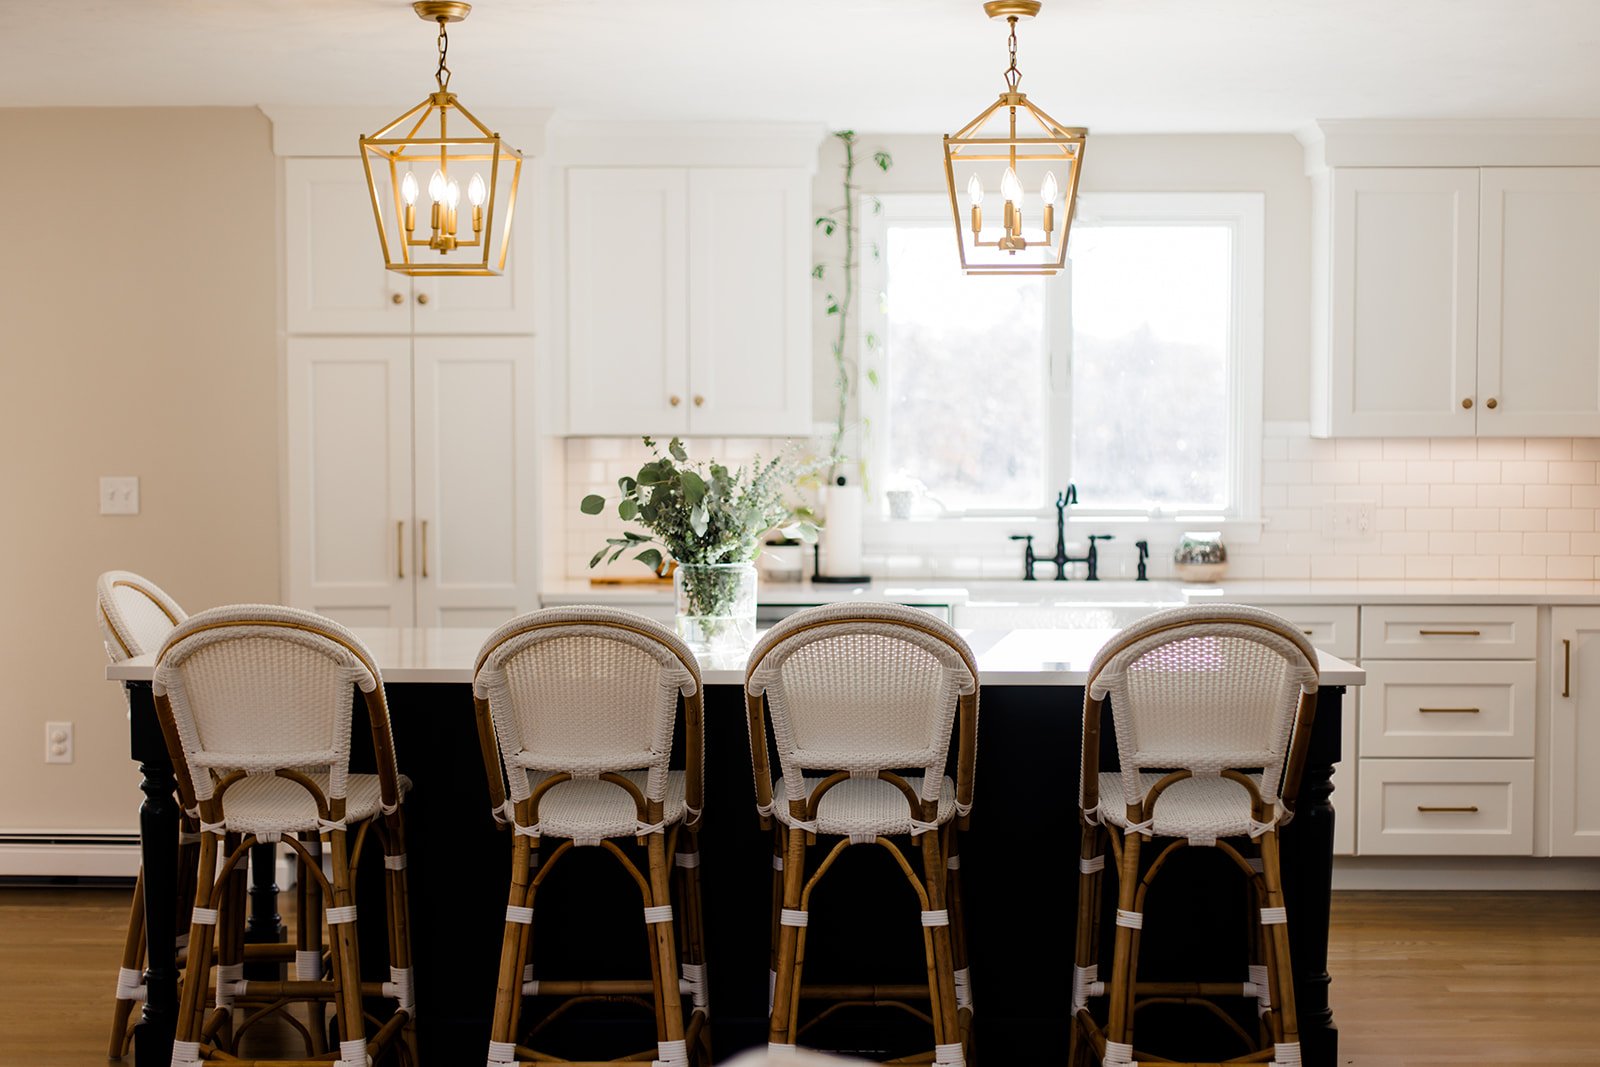
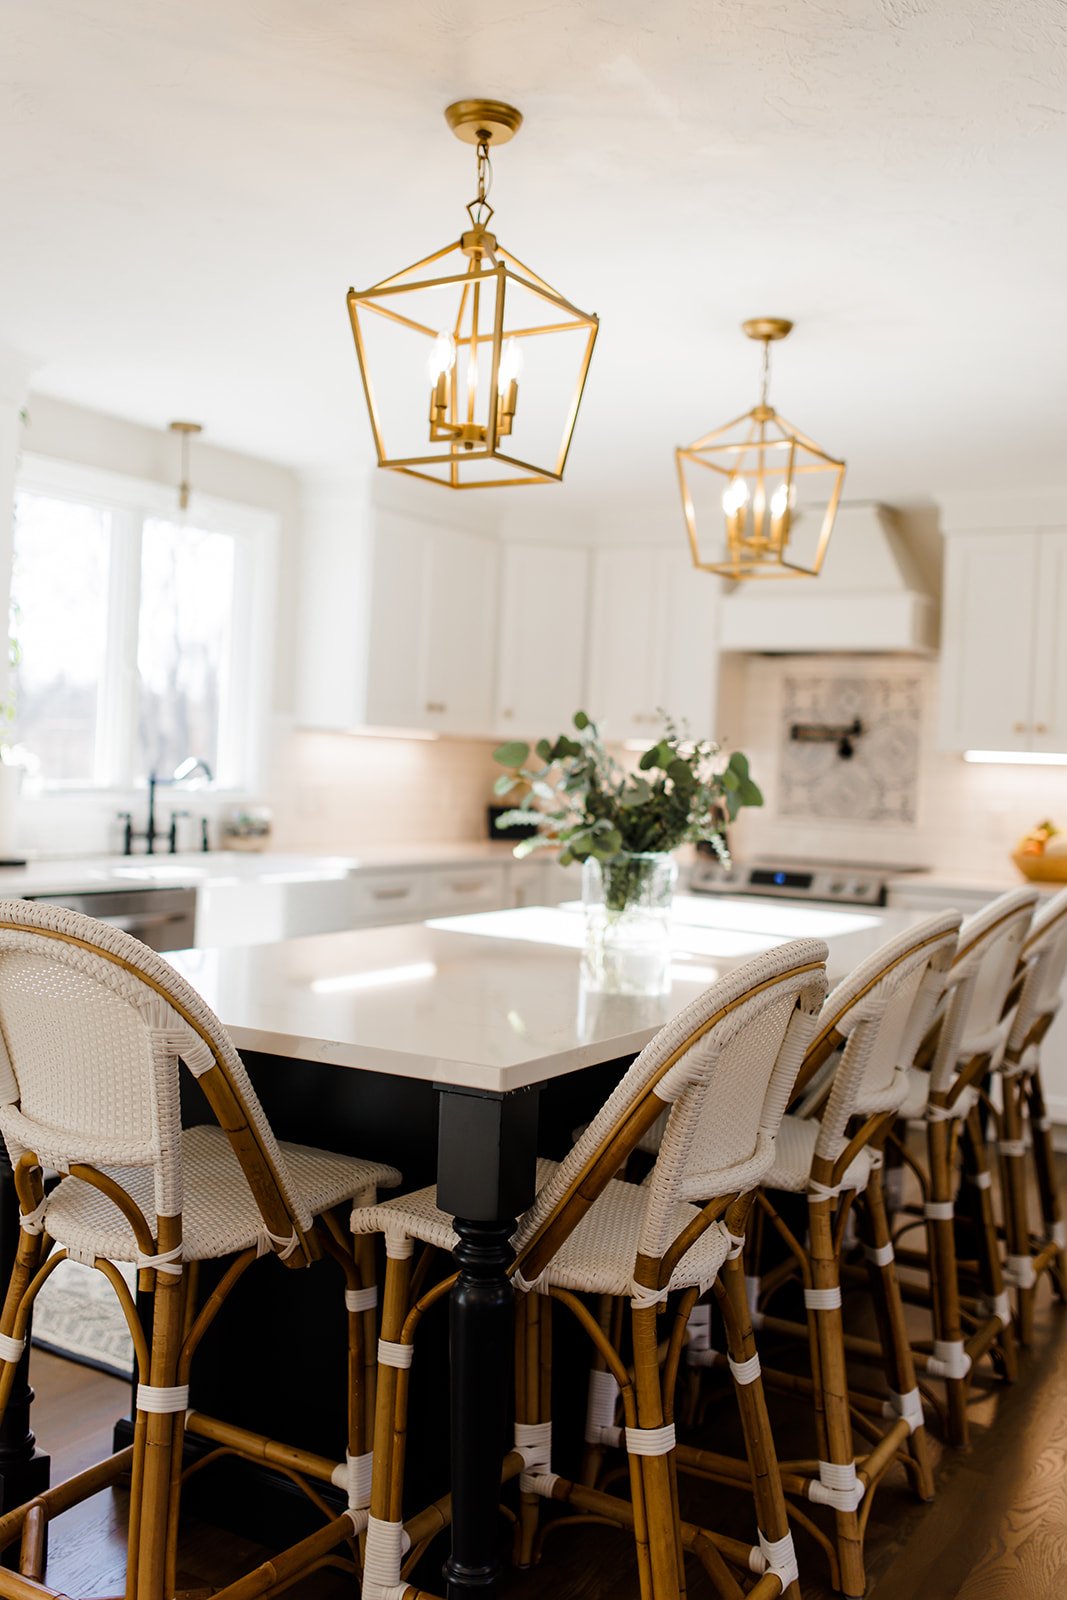
Playing around with light fixtures was so fun. We were able to settle on a look we wanted and then find dupes at a fraction of the cost. For the lantern pendants above the island, I wanted the look of the more expensive Darlana Lantern from Williams Sonoma without the $750 price tag. Enter the Maggimae 4-light lantern from Wayfair. These lanterns checked all of our boxes and were the perfect jump off point to coordinate other fixtures with.
To achieve a laid back, coastal element, Molly let me get wild with a rattan fixture in her foyer. Its the first thing you see when you walk in and it really sets the scene for the rest of the home. This one was found from pottery barn but there have been a ton of similar statement pendants like this released since!
With multiple different types of light fixtures all in one open layout house, I decided to match the dining room lighting to the pendant lighting over the island. I wanted for it to look elegant while maintaining simplicity and not making everything look too busy. This fixture can be found here.
While there were many amazing combinations for the tile backsplash, we honestly went with one that was in stock at floor & decor to speed up install time! We had decided early on that we wanted accent tile behind the stove since we had added in a range hood and wanted to make that a focal point. Molly found this blue accent tile which ties in with her navy blue island and it was a perfect fit.
I knew the look of the pot filler and faucet I had envisioned in the kitchen and was able to find them easily via Kingston brass!
After we took down the walls dividing the kitchen from the rest of the house, we needed to make it all cohesive so a living room refresh was in order. It was in great condition so it didn’t need much. We continued the same paint color used in the dining room and kitchen throughout the entire downstairs. The fireplace lost the top rows of brick to accommodate a new mantle and TV above as well as a white wash. The floors were sanded and stained when we brought hardwood into the kitchen.
before the refresh
After!
While I had a lot more written with more detail, this blog post has deleted four times on me already and i’ve had to start over each time. I’m not trying to make it five - so without further ado, here’s the rest of the pictures!


