Custom Open Shelving
With a third little boy on the way and a 1410 square foot house, we had to find smart ways to use space. What we lacked horizontally, we decided to make up for vertically. Since our house is nearly 200 years old, it has a lot of what I guess I’ll call character. AKA the rooms are crazy shapes and the roof has weird pitches cutting into all three bedrooms. Slapping up some generic shelving doesn’t always work or maximize space in houses like ours. With a contractor husband, I counted my lucky stars we could do this for just the cost of materials. Now I’m going to show you how to do it too and hopefully save you some money!
The first thing we did was measure the space we wanted linear feet wise, and how many shelves we wanted to fit there. We decided we wanted 4 shelves and then split the difference for what I thought looked good for height. I made sure the shelves were spaced a minimum of 12 inches height wise apart so it could fit toy bins easily. Also, make sure to include the width of your wood in your measurements too! You may measure for 12 inches but when you use a one inch piece of wood, you only leave yourself with 11 inches unless you account for it.
After we found our preferred shelf placement and spacing, we marked it out and drew level lines to make it easier on ourselves. Once we took measurements of the visual lines we drew, Sean was able to make a stock list.
Drawing our lines and making sure they’re level
Now, you can use whatever size you would like but I was really wanting a minimum one inch shelf for these rooms. Once inch thick wood can be difficult to find in a regular home improvement store so we decided to make our own by using 1x10 clear pine and added trim to the outside to give it a bit more of the bulky appearance I had pictured. For the trim, we used 1x2 clear pine and for added support on the bottom we used the 1 inch scrap pieces from the previous cuts. We made all cuts with a chop saw and nailing was done with a brad nailer.
Step Breakdown:
* corner shelves specific
** straight shelves specific
1. Take measurements for where you want the shelving
2. Subtract 3 quarters off each side for the trim if you’re using trim
3. The straight side to the point should be your measurement (if doing corner shelving) *
4. cut the point of the 45 degree angle to said measurement (if doing corner shelving) *
5. Put corner pieces together and shoot together using a brad nailer (if doing corner shelving) *
6. For straight shelving take 1.5 inches off each length to account for 2-3 quarter inch trim pieces **
7. Put scrap wood nailers underneath and shoot down into them
8. To add trim, measure from the back side to the front side on each shelf (just because you bought 1x10 doesn't mean the actual measurements are 1x10- it’s important to measure each cut!)
9. Measure the front of the shelves to get the front trim measurement
10. For corner shelving trim, measure from the outside of the side trim to the heal of where the two shelves meet (aka the part of the 45 degree angle that is not the point), cutting a 45 degree angle on one side of that measurement. do this for both pieces of front trim. Once cut, put them together with the 45 degree points touching on the heal of the shelves 45 degree heal. brad nail in place. *
11. For straight shelving trim, brad nail the sides onto the 1x10 and then the front last after taking your outside to outside measurements **
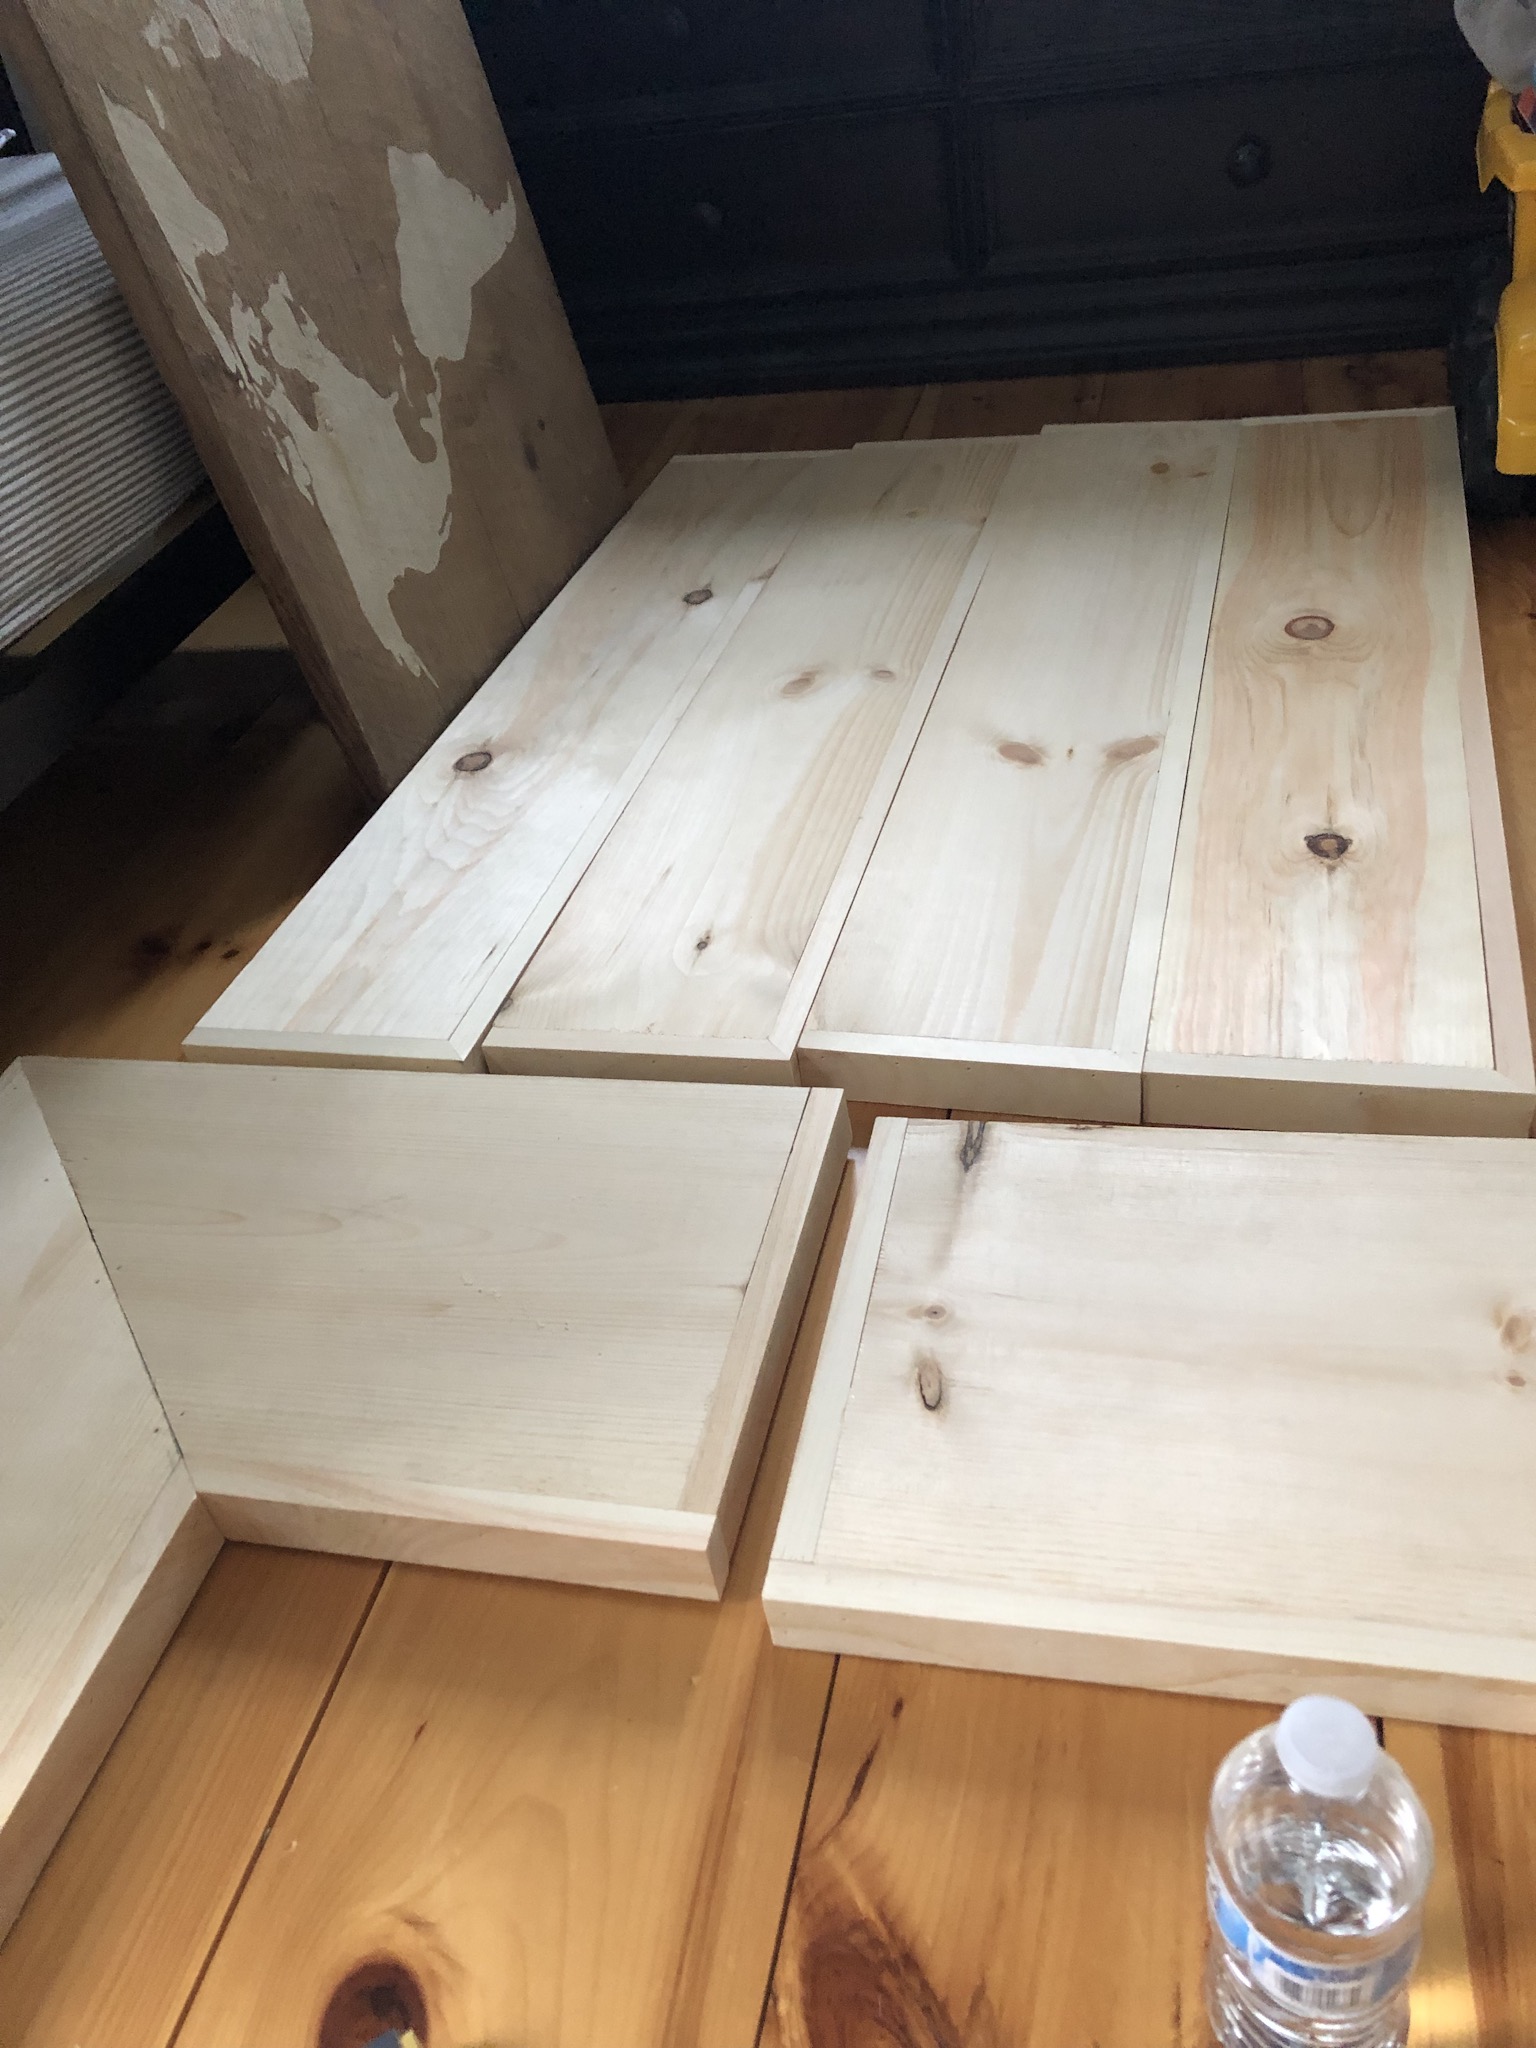
8 pretty shelves all built waiting to be finished
To Finish
Sean does all of the above but the wood filler, sanding and staining is all me. He will build all day but he will not do the finish work. I chose to use wood filler on the nail holes and the seams of the wood. I like to do this by hand and use my fingers but some people use putty knives if they don’t want to get messy. Totally up to you.
After a quick drying period (use directions on your wood filler of choice), I did a rough sand with 80 grit sandpaper followed by another sand using medium 120 grit sandpaper. Make sure you sand down the wood filler GOOD. I did not and you can tell after I stained on one set of shelves.
Wood filler applied on any nail holes and seams
I next allowed everything to set and dry for 24 hours.
For staining you can choose a rag, a brush, a foam stain pad, or whatever you’re comfortable with. I like to use a brush as that’s what I’m the most comfortable with but have had success with a foam brush as well. I laid out painters tarps I keep laying around for my endless list of projects since it was too cold for me to stain outside.
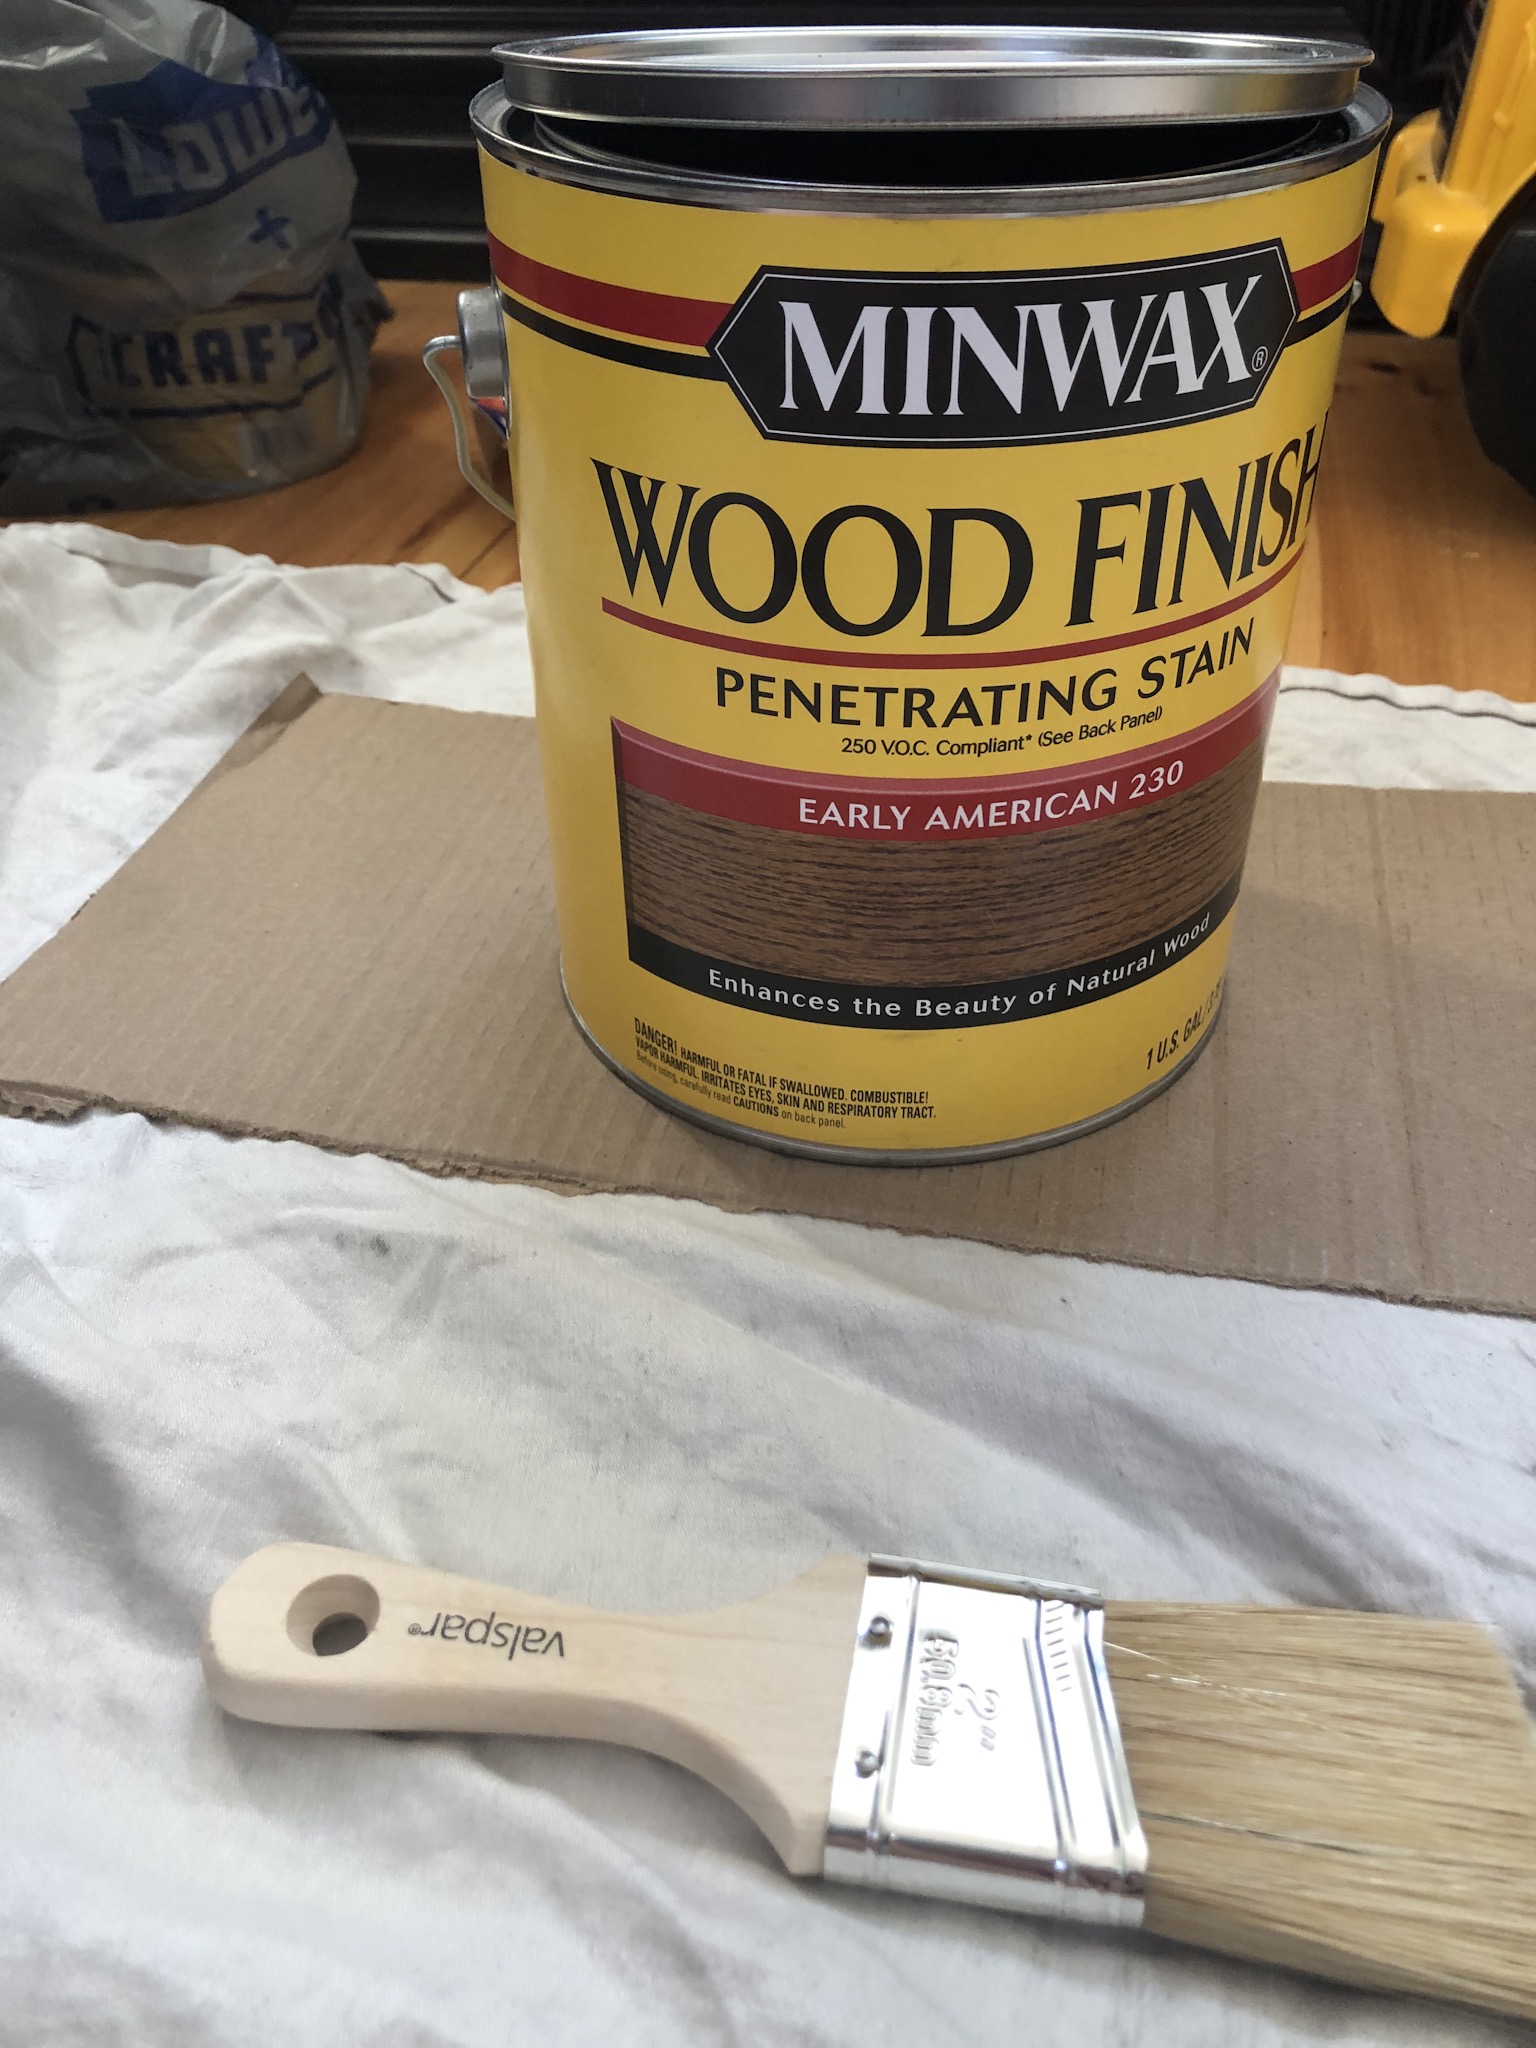
I wanted a medium to light finish. I chose Early American by Minwax as I like the way it comes out on pine. Always, always, always make sure you’re looking at how a particular stain comes out on the wood you are using. Stain on pine looks completely different than stain on oak. With pine, you can pretreat with a wood conditioner for a better look (I did with the wood used at the shake bars but knew I liked how Early American looked on pine so I skipped it here). Then I got to staining.
Stain of choice and brush of choice. I really like staining with Minwax products!
I began by staining the sides, then laid down the shelf and stained the top. Once all these are dry you can flip them over and do the bottoms if you are worried about that. I did choose to so the shelves would look great from all angles.
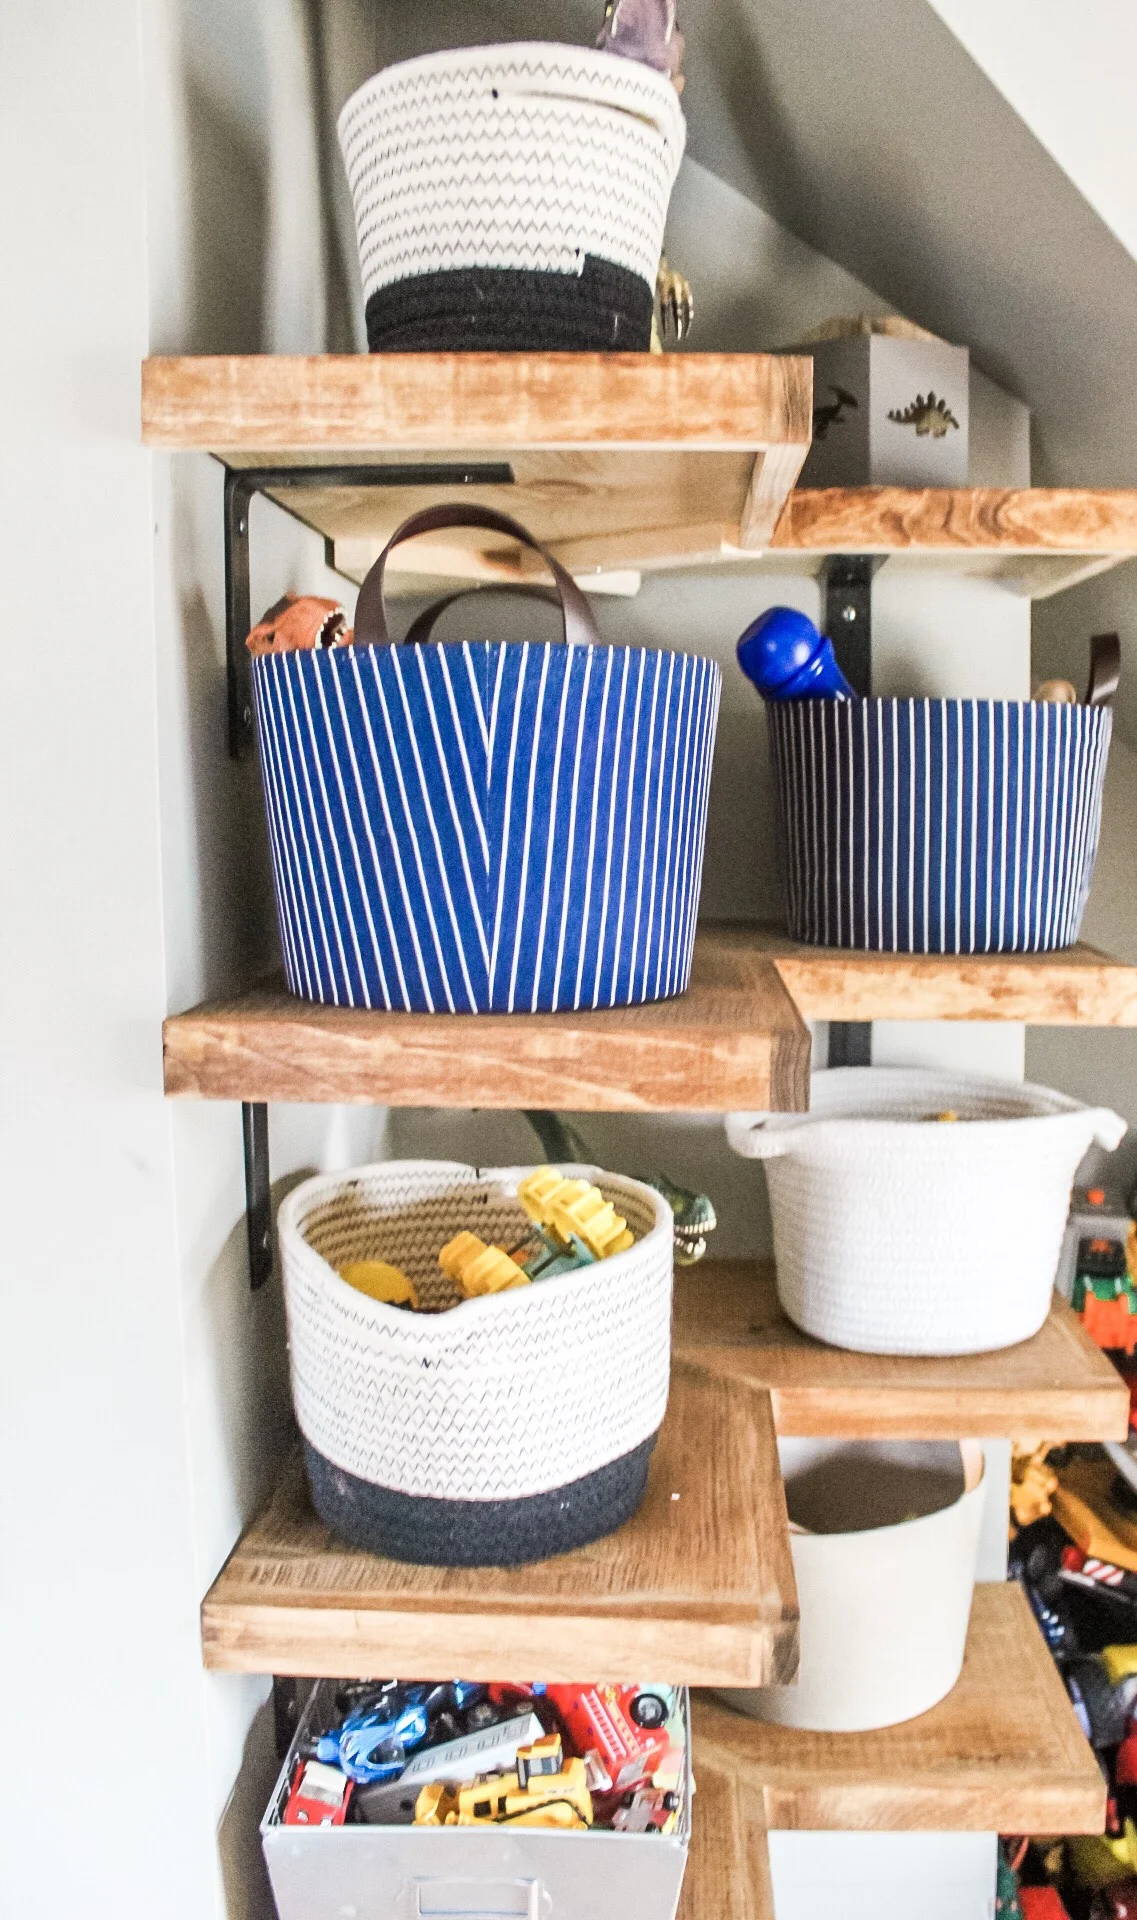
Finished corner shelf
Hanging the shelves
For brackets, I chose these because I love the look and they’re really affordable for metal shelving brackets and I do EVERYTHING on a budget when possible. They are rated to hold a lot of weight, come in all different sizes and are appealing to the eye. We actually have the same ones for our butlers pantry (tutorial on that coming soon). We used two brackets per shelf for a total of sixteen brackets between eight shelves.
Since we wanted to be able to have these shelves hold a ton of weight (read a million toys), Sean used toggle bolts to hold them in as they hold more weight. You could use wall anchors if you knew you weren’t going to be loading them up to capacity.
First look at the size of the hole on the bracket and buy a correlating size toggle bolt. Then, mark your holes on the wall where you want them and pre-drill. Put the toggle bolt in the bracket first, then into the wall and tighten.
Having custom open shelving can be a really expensive venture if you hire a contractor to do it. If you have the right tools on hand (or know someone you can borrow from), you can get it all done for a way more affordable price. We got stock for 8 shelves, wood filler, stain and all the necessities for around $200. More importantly, I can now clean the floors without tripping over a sea of dinosaurs and cars.
First set of shelving in one bedroom
First set of corner shelving


