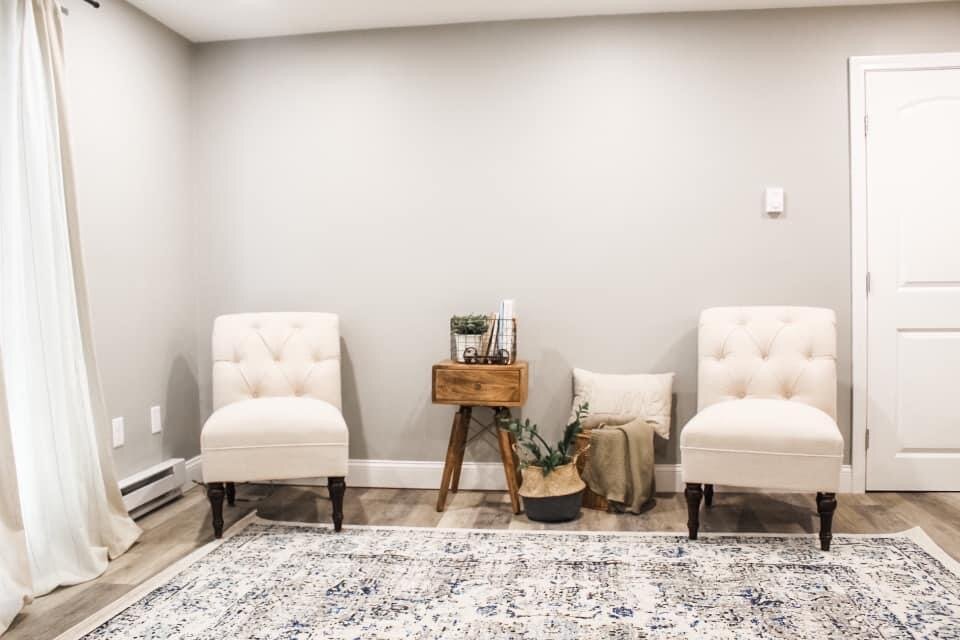
Do you know those times you wish you had a before picture? Those times were the end result looks nothing like what you started with? Well this is that time. So although I don’t have any before pictures to show the dramatic difference between where we started and where we ended, here is our Plainville condo flip!
After we cleaned out the condo, we got to work laying new, modern floors. We wanted a clean, fresh modern feel that would appeal to everyone. We chose lots of neutrals and clean lines so the future homeowner would have a clean slate to add their own flare. These floors worked seamlessly in every room and enabled us to give a continuous flow throughout the entire space.
We went with a neutral wall color as well that we used throughout the entire condo as well for the same reasons as above. We were working in a smaller condo so clean, continuous and simple helped us keep everything bright and airy.
We used mindful grey for a wall color and kept all the trim and doors white. We installed new, modern doors in every room as well as well as simple bright fixtures. We went with brushed nickel for our fixtures throughout every room, including the kitchen. There wasn’t a corner left untouched which is one of the best parts about flipping a smaller space.
One of the largest renovations of the condo, as with most homes, was the kitchen and bathroom. We went with white shaker cabinets and sleek, black pulls to appeal to a majority of perspective buyers. For the counters, we chose black, leathered granite which flowed with the cabinets, pulls and rest of the condo. Where the entire living area is open, it was important to us to keep everything coordinating. We used a white glass subway tile and black lantern style pendants to tie everything together.
For the living room, we kept it as open concept and airy as possible. The new glass doors were the center of the room, leading out to a small front patio area. We updated the main living area with recess lighting to continue with out “bright and airy” vibe.
For the bathroom, we continued the white subway tile and added a recessed built in shelf complete with a penny accent tile. New fixtures, a simple vanity and a fresh medicine cabinet for storage finished off the space.
The two bedrooms were a continuation of what we were already doing in the rest of the condo. We used the same flooring, paint, doors and style used elsewhere to make sure it all stayed cohesive. We used simple black curtain rods and curtains left from a previous flip to add texture and warmth. A small wooden desk and lamp brought together the second bedroom.
All in all, I’m pleased with how this flip came out. We accomplished what we had planned to while keeping costs affordable and using durable, transitional materials. The day we opened up to take offers, we received a winning bid and I hope the new homeowners love their condo as much as we do!


